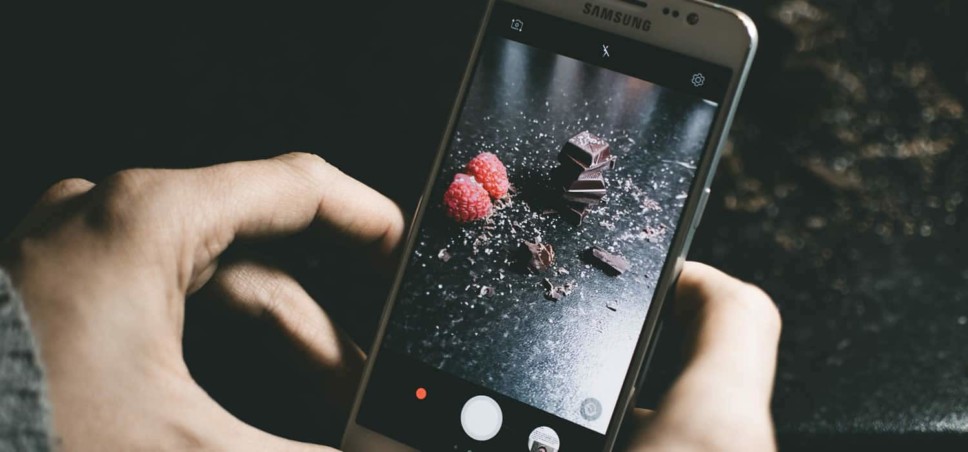
It’s hard to beat a great photo. Whole stories can be told in a single image and even the best stories can often be made even better with the right image.
We think photos are so important for your story, that even our Basic listing package includes a free image. With the proliferation and quality of digital cameras and smartphones, there is no reason why your listing can’t include a great photo.
You might already have photos from your website or other marketing materials that could be used for your listing.
In either case, here are some specific recommendations for photos on McHenry Life as well as some general photo tips to help.
McHenry Life Listing Photos
- Orientation: landscape-oriented photos.
- Format: jpg recommended (jpg or png, whichever is smaller in file size) for photos, which would be preferred. gif or png if you are uploading simpler, flat graphics, like a logo, but we recommend saving that for your logo upload specifically (see below).
- File size: up to 3MB.
- Image size: between 800-1500px wide (or larger, which we’ll scale down for you).
- Aspect Ratio: 16:9 or 4:3 preferred (fairly standard options on smartphone cameras). If you have an existing image but aren’t sure of the aspect ratio, then just divide the smaller resolution number by the larger number. Example, 1080px / 1920px = .5625 (16:9) 1768px / 1024px = .75 (4:3).
- Compression: As long as it fits within the 3MB limit, we recommend uploading either uncompressed or no lower than 70% compression. If there are file savings to be had, we’ll automatically compress after you upload your image. If you’ve over-compressed it, we can’t uncompress it though.
McHenry Life Logo Uploads
In addition to uploading at least one photo, we also allow every listing to upload their logo to help with your brand building.
- Orientation: landscape or portrait.
- Format: png or gif (as logos are usually color-blocked or line art-focused, these formats tend to be more common and better for logos than jpg, which is more typical for photos).
- File size: up to 3MB.
- Image size: between 400-500px wide
- Aspect Ratio: any
- Compression: As long as it fits within the 3MB limit (which should be more than enough for a logo), we recommend uploading either uncompressed or no lower than 70% compression. If there are file savings to be had, we’ll automatically compress after you upload your image. If you’ve over-compressed it, we can’t uncompress it though.
General Photo Tips
- The best photo is often the one we didn’t take. Thanks to digital photography though, there is very little reason to ever not have enough photos to choose from. Take five to ten times more photos than you think you would ever need. And don’t feel that they all have to be dramatically different. Sometimes shifting a little in direction, closer or further away, or slightly rearranging your composition can completely change a photo.
- Lighting is one of the most important aspects of any photo you take because it strongly impacts just about every other element of your photo. You may want to experiment with and without the flash on your camera or phone, but unless you are using higher-end equipment with a directional bounce flash and know what you are doing, you are much better off trying to manage the environmental lighting. Whether indoor or outdoor, softer, diffused lighting is probably best. Try to avoid extremes in lighting, or having strong, direct light in the background or immediate foreground.
- Get close. Start close and continue to move closer. Don’t be afraid to have parts of your photo fall out of frame. Sometimes the most interesting picture is the partial one.
- Backgrounds can make all the difference. Look for backgrounds that don’t upstage your subject. Try to avoid strong patterns or colors that draw attention, or have objects that pull attention away from your subject.
- Focus or not. Most of us rely on cameras doing all the work. In most cases, this is probably a good thing, but every now and then, you may need to really make sure that the camera is focusing on your subject and not something else in the background or foreground. And in some cases, you might want to purposely make the background go out of focus to minimize a strong, distracting background. Be sure to read up on how to adjust these settings on your camera or phone.
- Contrast isn’t a bad thing. Look for ways to introduce color and contrast to help your subject stand out. If you find your subject being “absorbed” by or disappearing into the background, then a little re-composition may be in order.
- Avoid the tendency to center. Just like we are often afraid to have part of our subject fall out of frame, we often tend to place our subject square in the middle of the frame. Experiment with moving your subject’s focal point from the center toward the left or right third of the frame, and then from the middle vertically to the top or bottom third of the frame.
- But keep critical elements away from the edges. This tip is specific to uploading images to websites, like McHenry Life. Your images will be used in different places on the site, in varying sizes, and varying aspect ratios. This means, sometimes, the top, bottom, sides, or any combination of these, may be cropped or bleed off the edges. That’s okay and maybe even interesting with non-critical elements, but not when it is someone’s head or part of your name and logo.
